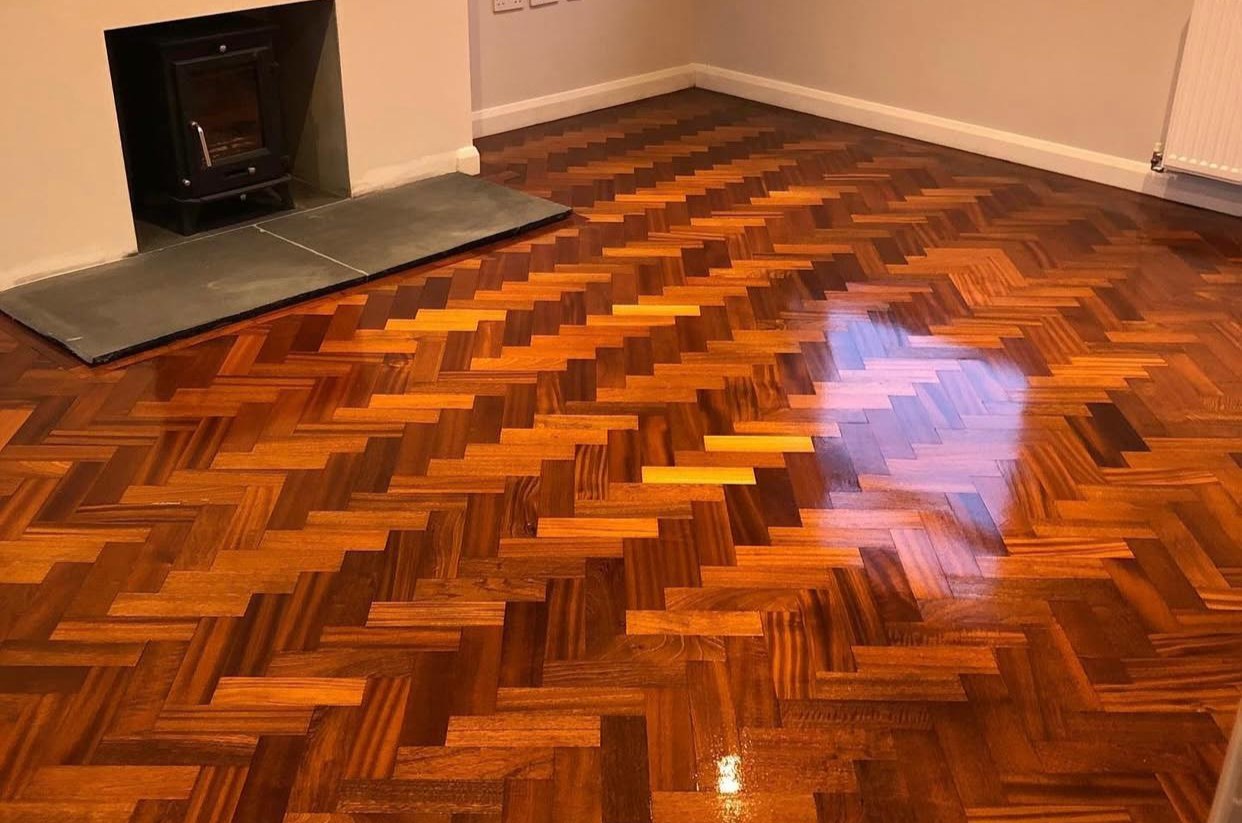
A Step-by-Step Repair Workflow That Works
If your parquet looks tired, gappy or oddly patchy after a DIY attempt, you’re not alone. Homeowners (and even some tradespeople) often report the same three pain points: sanding that leaves chatter marks or wavy lanes, adhesives that don’t bond or stain, and patterns that mysteriously drift off line by the time you reach the hallway. The result is frustration, extra cost, and—worst of all—a floor that never quite looks right. This guide on Parquet Floor Repairs clears the fog. We’ll decode the jargon, outline the pitfalls, and give you a practical, step-by-step approach that respects period character while meeting modern performance standards.
The Floor Under Your Feet: What Parquet Actually Is
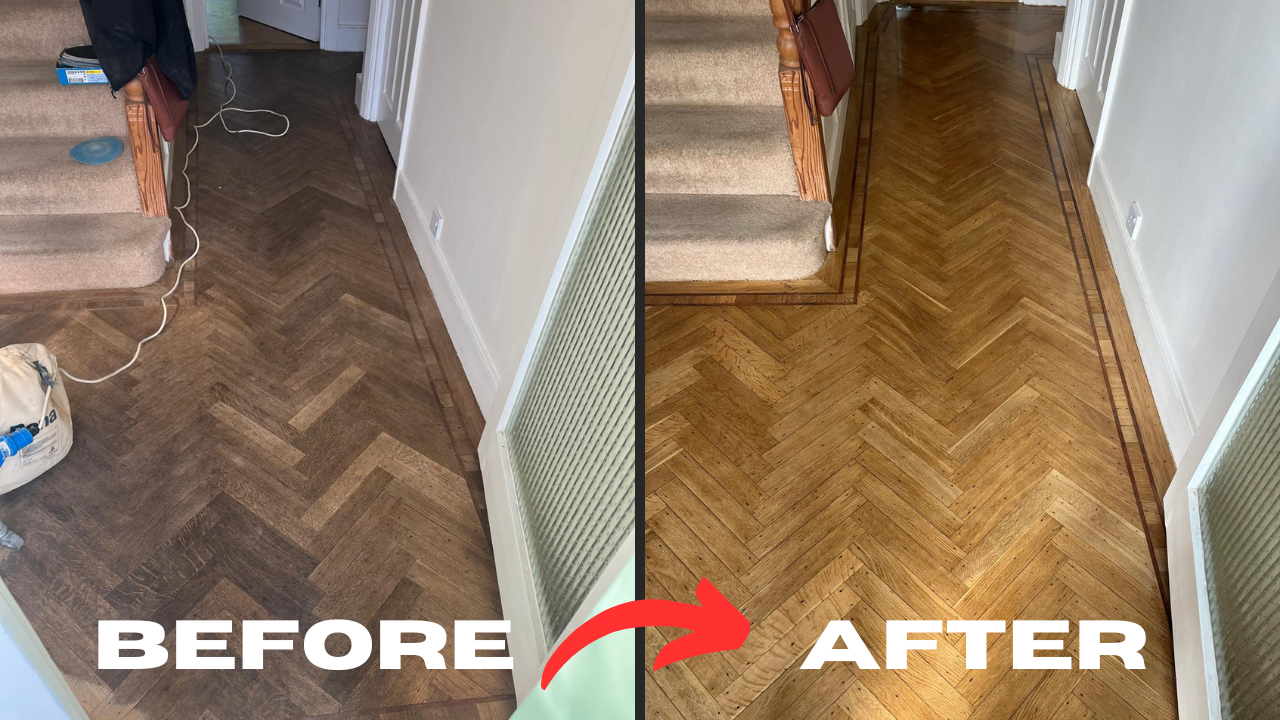
Parquet isn’t just “small wooden tiles”. It’s a system: individual blocks (often 230 × 70 × 10–22 mm in older British homes) laid in geometric patterns—commonly herringbone, sometimes chevron, basket weave or Versailles-style panels. Older installations may sit on hot bitumen over concrete or on timber substrates; newer ones tend to use modern polymer-based adhesives over screed, plywood or suitable underlays. Blocks may be solid or engineered; species vary (oak dominates, but you’ll find teak, maple, beech and merbau sprinkled through twentieth-century properties). That combination—species, size, thickness, substrate—drives almost every decision you’ll make during remedial work.
Why the confusion? Because every variable changes the rules. The way you sand a thick, bitumen-bonded oak herringbone differs from how you treat a thin, engineered chevron over underfloor heating. The adhesive that behaves beautifully on a primed screed might be a disaster on stubborn bitumen residue. And a pattern that looked square in one room can creep out of true when it crosses a threshold where the walls aren’t parallel.

Where the Sanding Confusion Starts
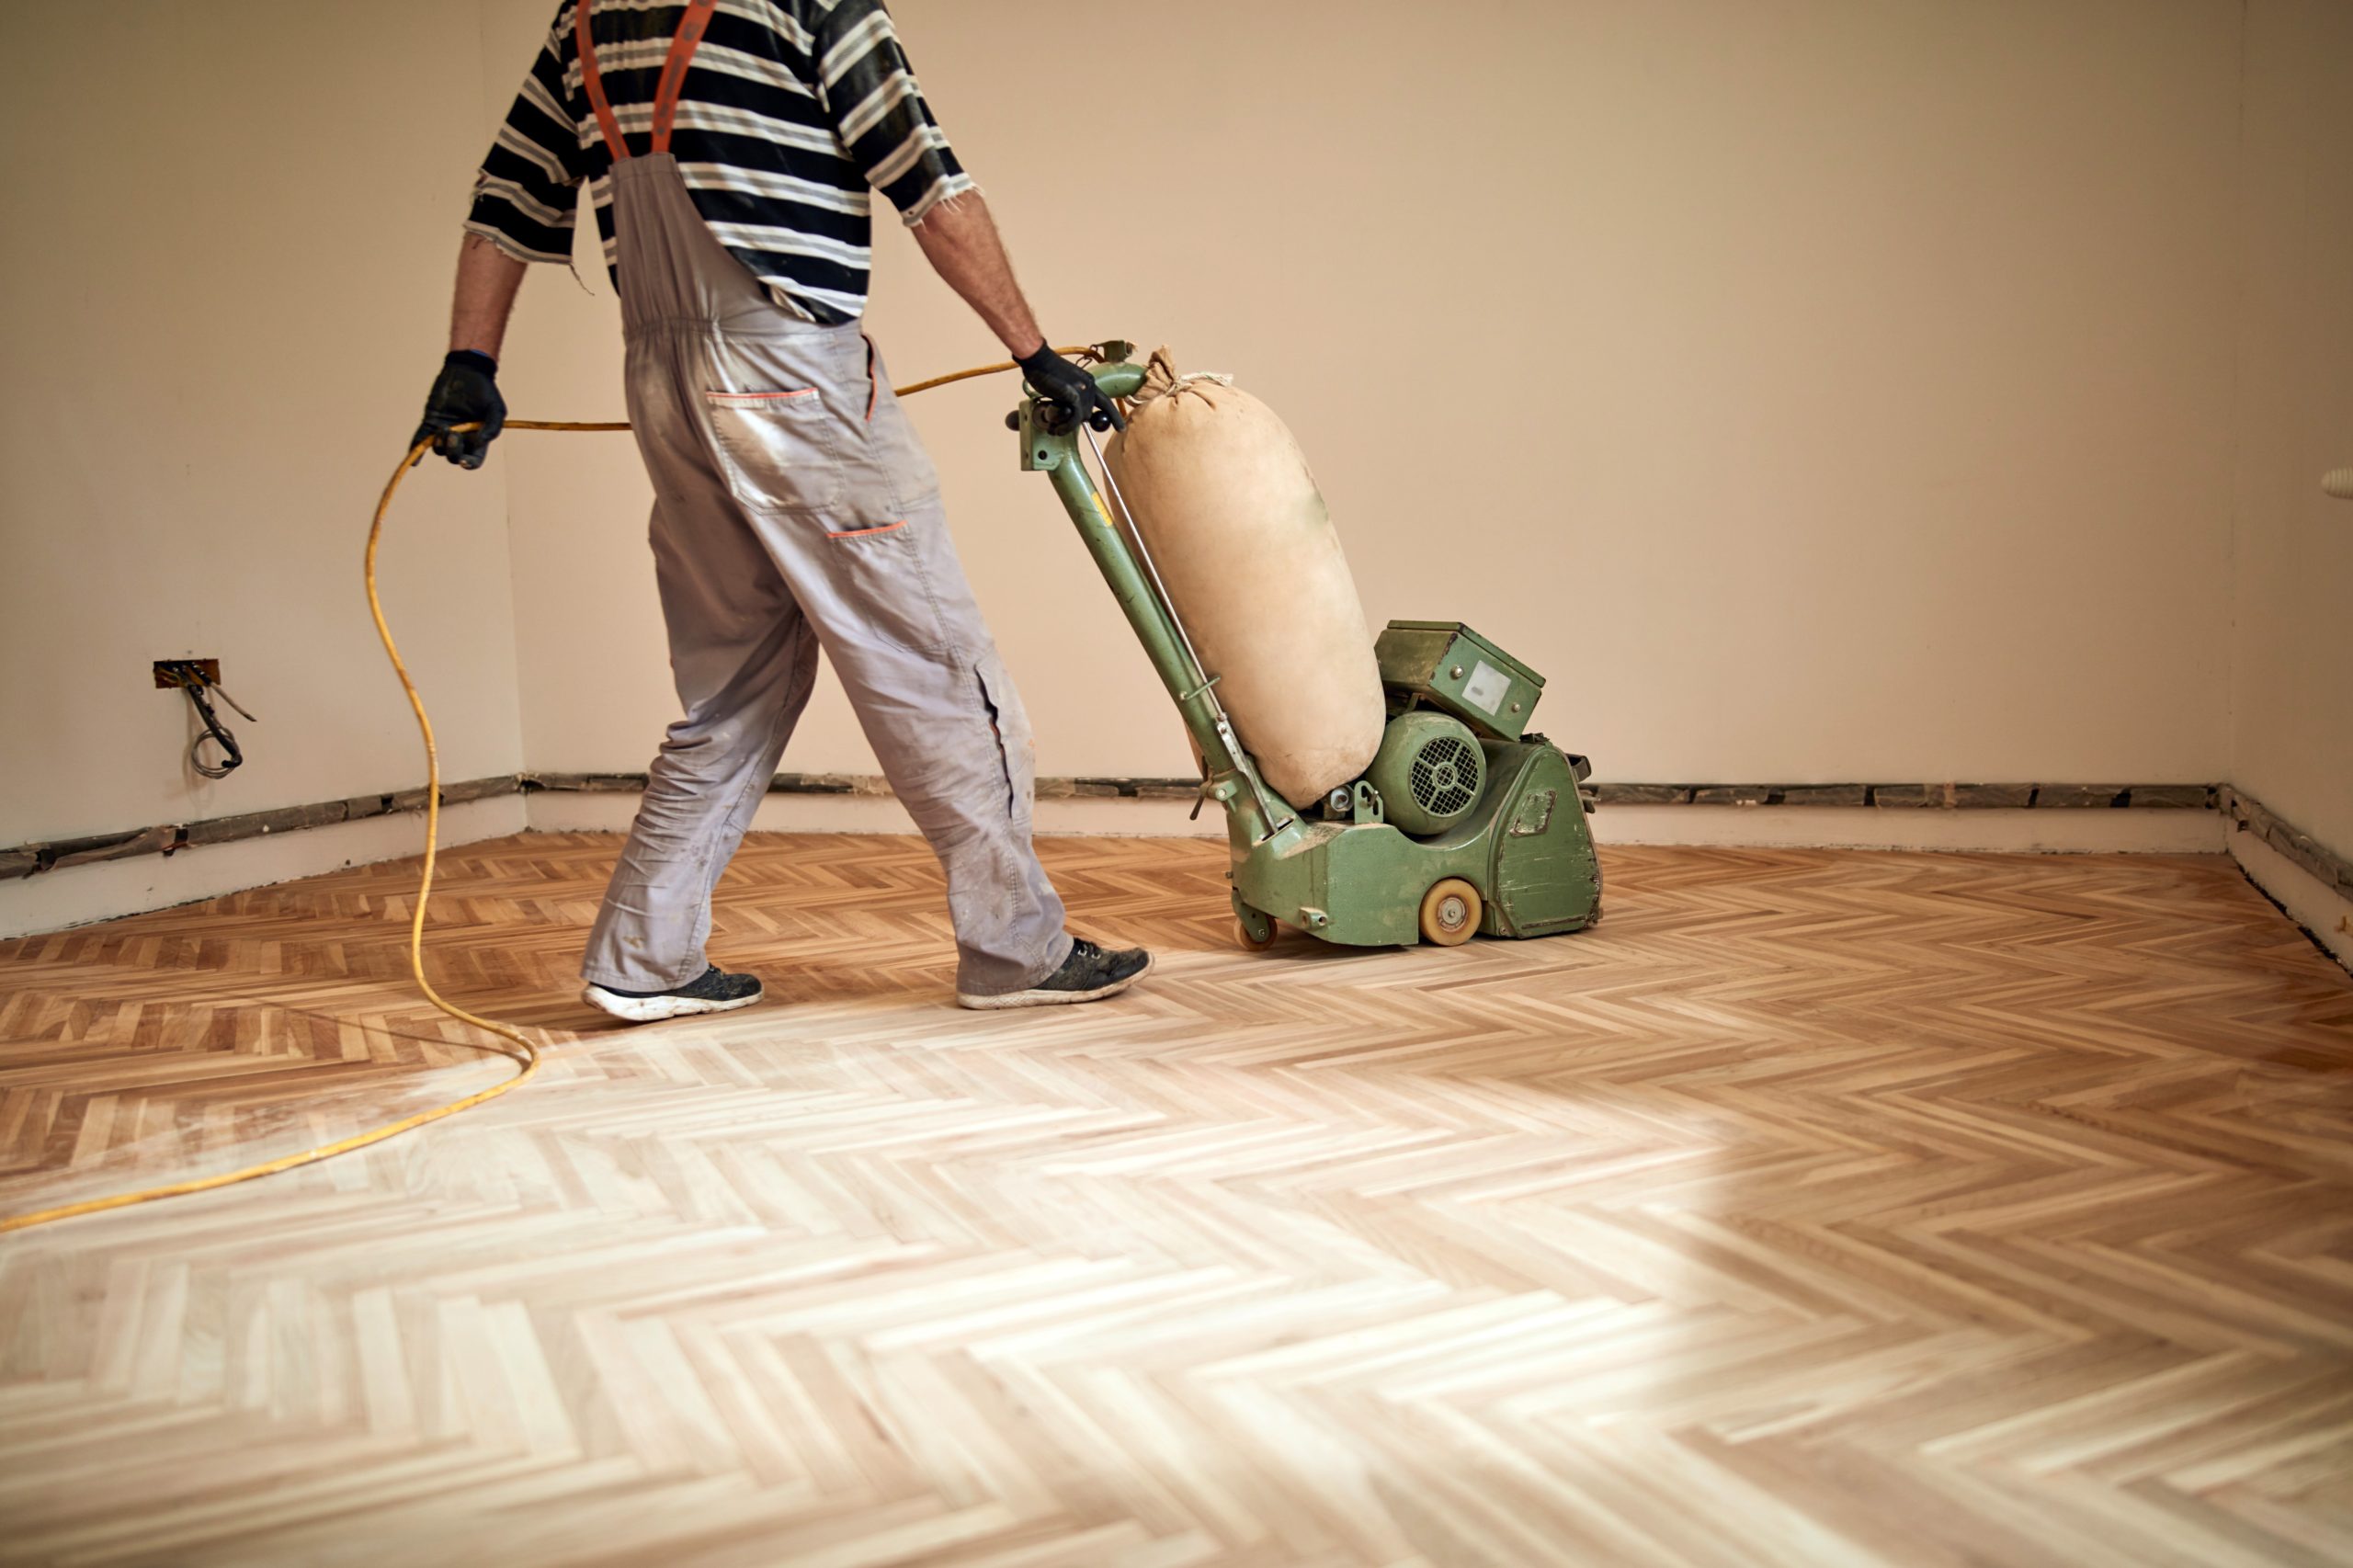
Online advice often begins with “just hire a big sander and start at 40-grit.” That’s half a truth. The goal in professional remedial work isn’t simply to “make it smooth”; it’s to re-establish flatness across thousands of block edges without rounding corners, grooving soft grain, or unseating marginally bonded pieces. For Parquet Floor Repairs, the sanding sequence is less about aggression and more about control.
Key considerations:
- Machine choice. A modern belt sander levels more predictably than a drum. A three-disc planetary or large orbital refines the surface without creating visible lanes. Edge work should blend, not “dish” the perimeter.
- Cut direction. On herringbone, your first levelling pass often runs at 15–30° across the pattern to stitch the blocks into a single plane. Later passes track closer to the grain to minimise scratch visibility.
- Grit discipline. Jumping from 40 to 120 leaves deep scratches telegraphing through clear finishes. A sane path (e.g., 40→60→80→100) maintains control and keeps heat down—important when old bitumen softens.
- Block security. Any loose, “drummy” or hollow-sounding areas must be lifted and rebonded before heavy sanding. Otherwise the machine vibrates blocks free and you chase problems room to room.
- Filling strategy. Resin-based fillers or a binder mixed with fine sanding dust works well for hairline gaps, but if the blocks are moving, filler will crack. Stabilise first; fill second.
Sanding should reveal crisp geometry, not blur it. If your last pass leaves edge rounding, stop and reassess: the machine is stationary too long at the turnaround, the grit is too coarse, or the pad isn’t floating evenly.
Adhesives: The Sticky Subject No One Explains Properly
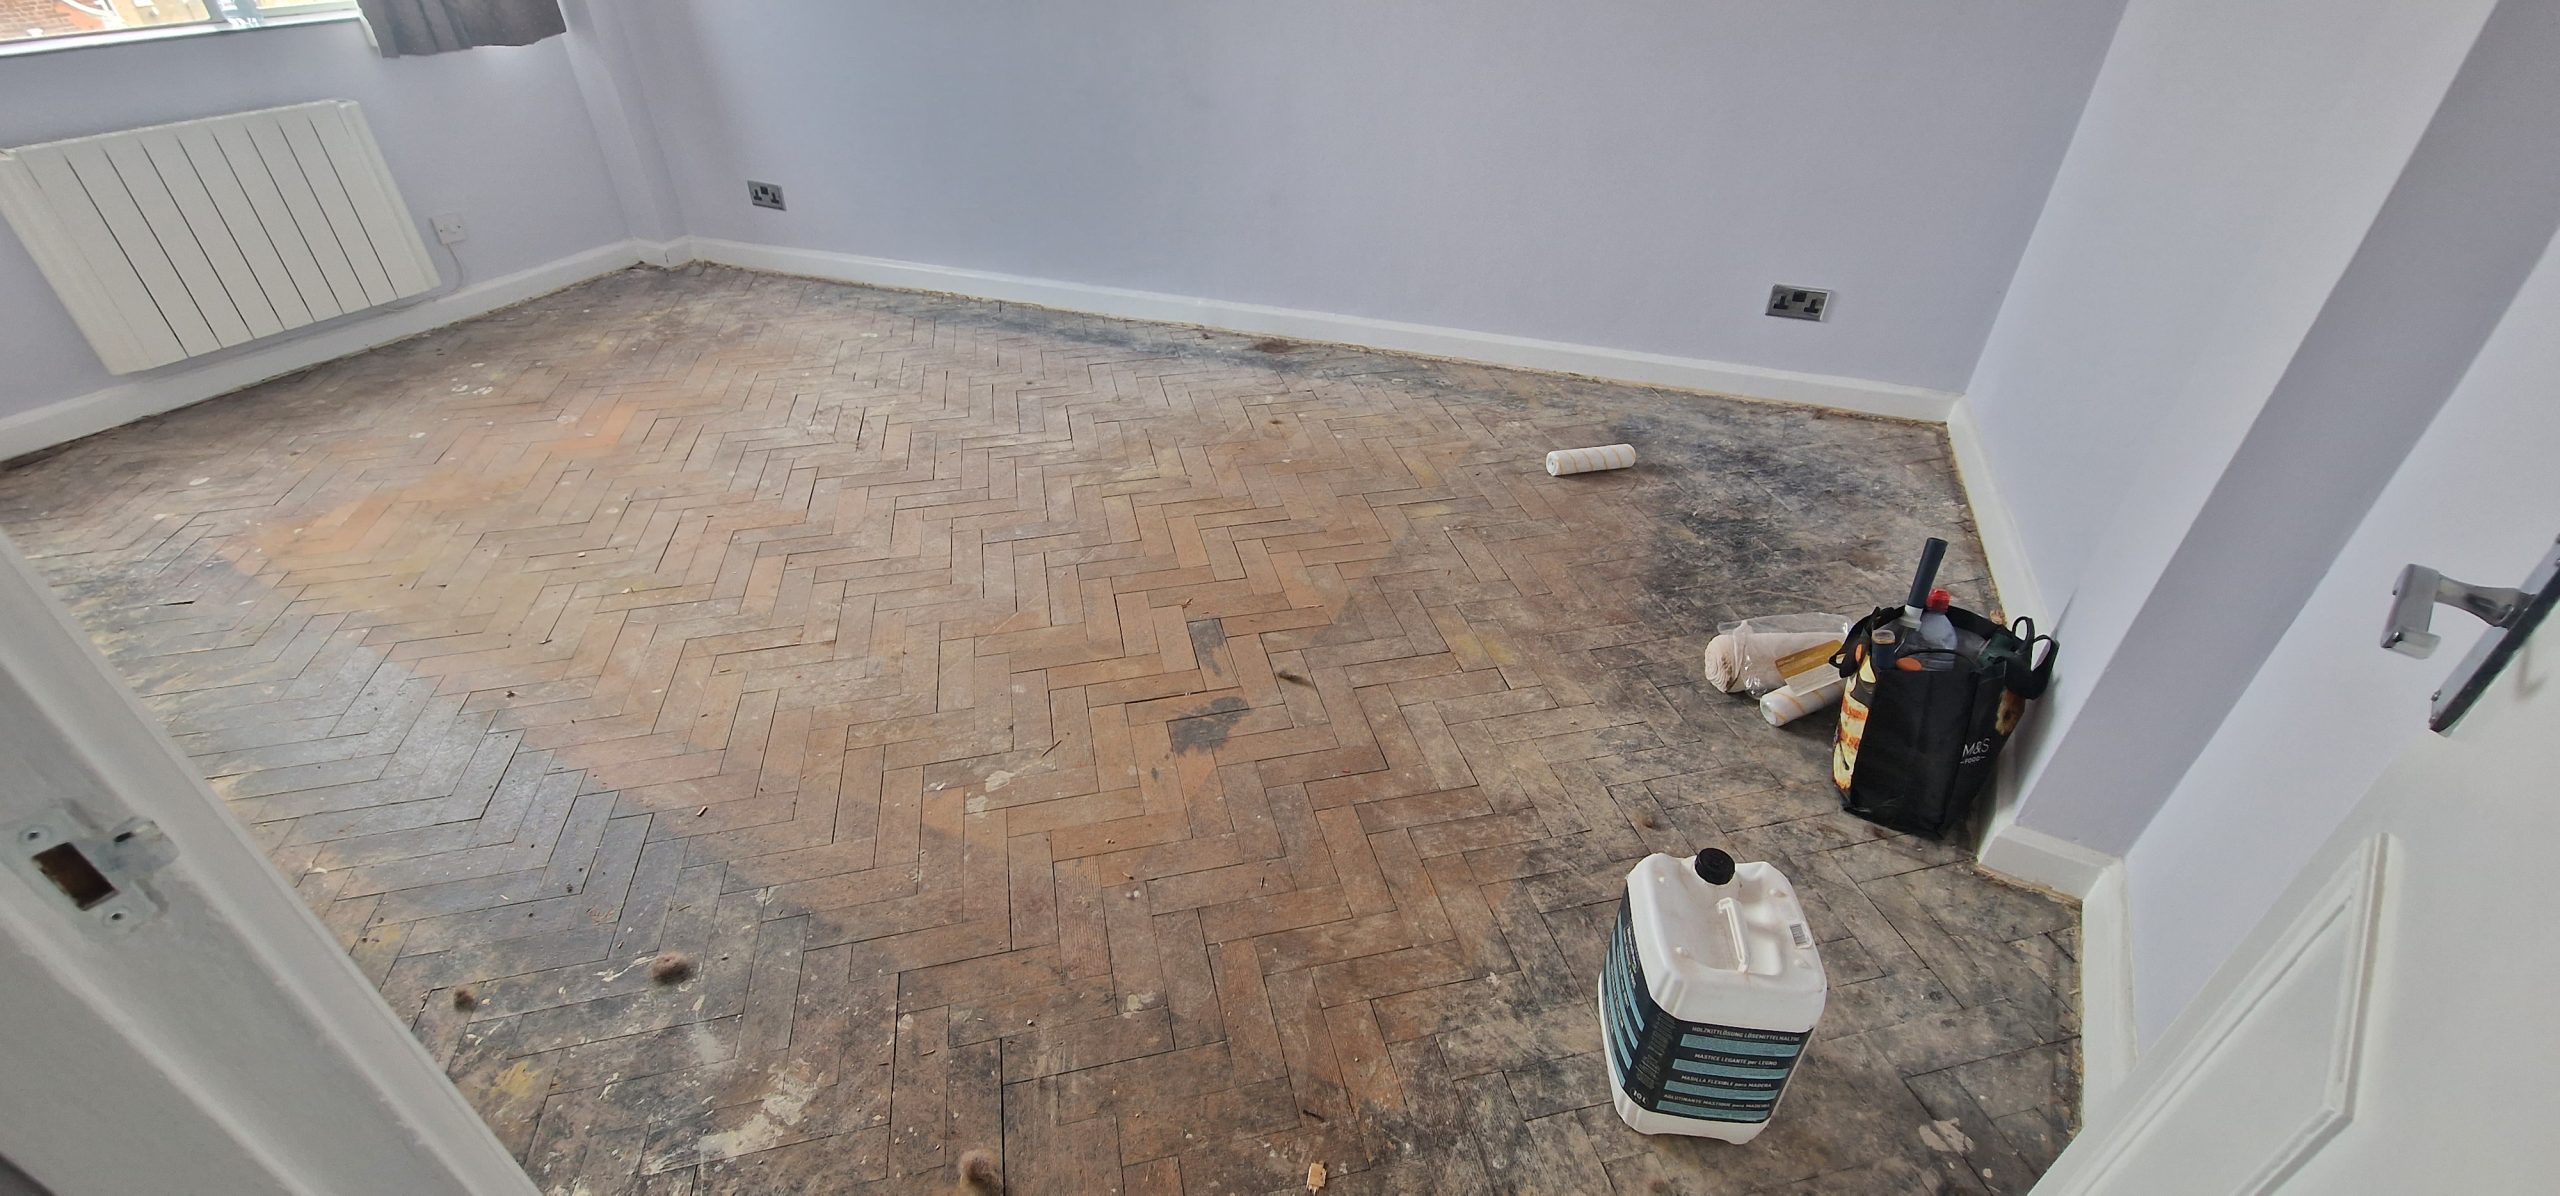
A century ago, installers relied on hot bitumen. Today you’ll see moisture-curing polyurethane (PU), MS polymer/“hybrid” adhesives, and specialist epoxies—each with different open times, elasticity and bonding behaviours. Much of the confusion stems from mis-matching adhesive to substrate or to environmental conditions.
Core principles:
- Substrate first. On concrete or screed, confirm moisture (a proper test, not guesswork). If readings are high, you’ll need a compatible damp-proof system or a plywood overlay. Timber substrates must be sound, flat and fastened.
- Compatibility. Some modern adhesives will bond over well-prepared bitumen residue; others require full removal or a primer. Read the data sheet, not just the label.
- Elasticity vs rigidity. Parquet needs a degree of elasticity to accommodate micro-movement, especially with underfloor heating. Too rigid and the bond shears; too soft and the floor creeps.
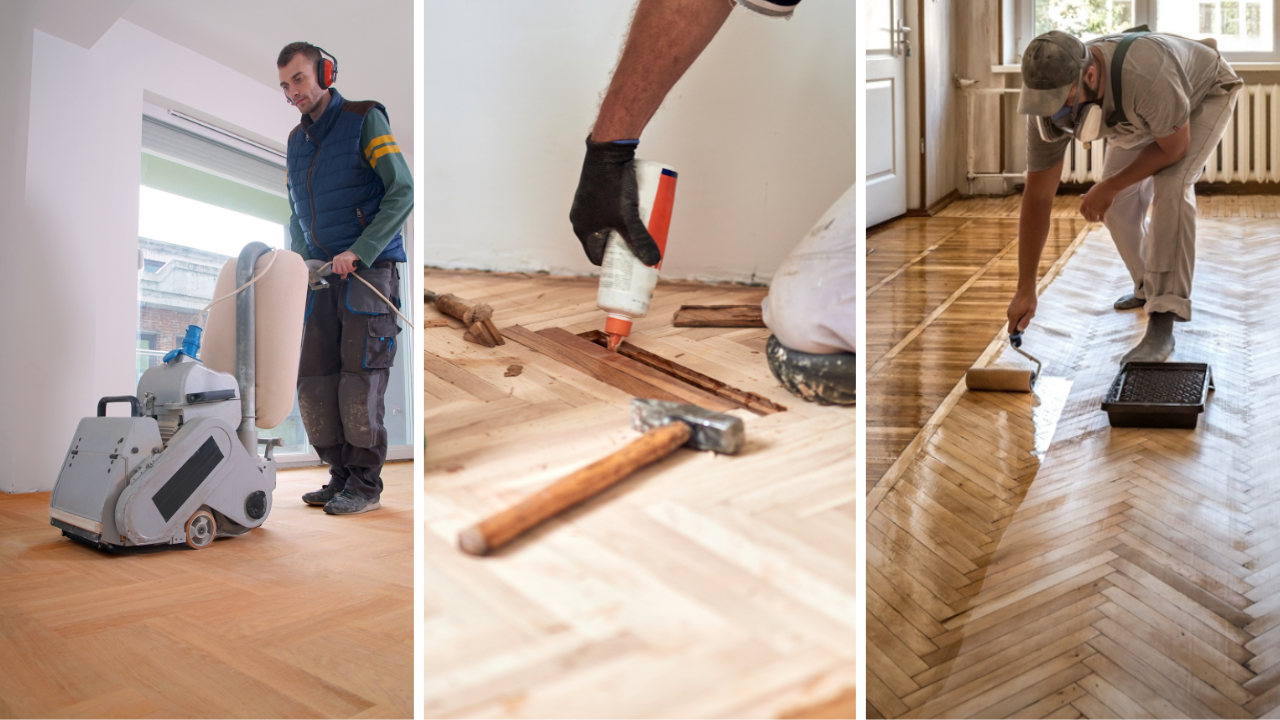
- Trowel notch & coverage. Wrong notch size = voids. Voids = hollow sounds and future debonding. Back-buttering individual blocks can help when spot re-laying.
- Weighting & cure. After rebonding, weight suspect zones with sandbags or movable loads to keep everything seated during cure. Respect cure times before aggressive sanding.
Get the glue wrong and every other stage fights you. Get it right and Parquet Floor Repairs become predictable rather than dramatic.
Pattern Matching: Why Good Lines Go Bad
Parquet patterns behave like long trains: a small alignment error at the start compounds as you “run” across a room. In herringbone, a mis-set “spine” (the main centre line) forces you to introduce slivers at skirtings or thresholds. In chevron, angle drift creates ugly “V” mismatches and obvious “doglegs” at the border.
Avoid the classic traps:
- Start with a datum. Establish a true, square reference line using a chalk line or laser. Walls are rarely parallel; don’t trust them.
- Respect module size. Old floors often contain blocks with micro-variations (wear, hand-cut ends). Dry-lay and sort to keep like with like in high-visibility zones.
- Borders & features. Many period floors include a rectangular border or a “tramline” with feature strips. Plan the termination: will you scribe to the skirting, undercut it, or insert a neat border to hide irregular masonry?
- Species & tone. Vintage blocks exhibit colour spread. Randomise subtly so you don’t create unintended “clouds” of dark or light boards.
- Thresholds. When a pattern crosses a doorway, confirm how the two rooms will align visually. Sometimes it’s better to introduce a border piece or brass threshold than to force a flawed continuation.
When pattern geometry is respected, the eye reads calm, even if the walls are wonky. When it’s not, every visitor will sense “something off”, even if they can’t articulate why. Professional Parquet Floor Repairs treat layout as a design task, not an afterthought.

Step-By-Step: A Pragmatic Repair Workflow
Think of this as a sequence you can scale—from a few loose blocks to a complete room refresh.
1) Diagnose
- Tap-test for hollow sounds.
- Identify loose or proud blocks, lifted corners, cupped pieces and failed filler.
- Note substrate type: timber, concrete, screed with or without old bitumen.
- Check moisture and ambient conditions (heating, ventilation, underfloor heating).
2) Stabilise
- Lift loose blocks carefully; label positions if pattern continuity matters.
- Scrape off old bitumen or degraded adhesive to a firm, clean surface.
- Prepare substrate: vacuum thoroughly; prime or install a ply overlay if required.
- Select a compatible adhesive; choose trowel notch; pre-cut blocks where necessary.
3) Relay & Align
- Snap a datum line; run a short “ladder” of blocks to confirm geometry.
- Rebond lifted areas first; weight during cure.
- For missing pieces, source reclaimed stock of matching size/species; machine new blocks only when dimensions are exact.
- Decide on borders or feature strips before you cut.
4) Sand with Control
- Coarse levelling pass at a controlled angle to flatten high edges.
- Progressive grits to erase scratches; keep machines moving to avoid dish-outs.
- Blend edges; don’t create “bowls” round the perimeter.
- Fill gaps after stabilisation, using a compatible binder plus fine dust for colour match.
5) Finish for the Way You Live
- Lacquer (matt/satin): durable film, minimal upkeep; great for busy households and rental properties.
- Hardwax oil: natural feel, spot-repairable; emphasises grain, but needs routine care.
- Colour treatments: waterborne stains or reactive finishes can modernise orange-aged oak; test in a discreet area first.
- Sheen & slip: true matt hides micro-marks; consider anti-slip options for hallways and stairs.
6) Cure & Aftercare
- Respect cure times before rugs or furniture return (felt pads are non-negotiable).
- Vacuum with a soft brush; damp-mop lightly with a pH-neutral cleaner.
- Maintain relative humidity to reduce seasonal gapping.
Special Situations That Complicate Everything
- Underfloor heating. Floors expand/contract more; adhesive elasticity and expansion gaps become critical. Heat should be commissioned gently after finishing.
- Bitumen residues. Some modern systems allow bonding over well-prepared residues; others require mechanical removal or priming. Don’t smear solvent around—it can bleed and stain.
- Mixed thickness blocks. Vintage repairs often introduce a different thickness. Skim the high zone with careful levelling passes; never “dig out” low fields.
- Cupping & crowning. Caused by moisture imbalance. Fix the cause (leaks, high RH) before you sand; otherwise the shape returns.
- Dark “ghost” lines. Old borders or features sometimes ghost after sanding due to aged lignin or historic finishes in the grain. Extra refinement passes and careful finish choice can minimise them.
The Most Common Mistakes (And How to Dodge Them)
- Sanding before stabilising. You’ll shake more blocks loose and make the problem bigger.
- Over-aggressive grits. Deep grooves telegraph straight through clear finishes.
- Wrong adhesive. Either too rigid (shear failures) or incompatible with residues (bond failure).
- Ignoring the datum. Patterns don’t self-correct; they compound errors.
- Skipping dust control. Filler contaminated with debris looks patchy; finishes hate dust.
- Rushing cure times. Edges lift; footprints imprint; sheen goes blotchy.
- No humidity plan. Winter shrinks; summer swells. Aim for a stable mid-range indoors.
Handled properly, Parquet Floor Repairs are a straightforward craft, not a gamble.
DIY or Bring in a Specialist?
A competent DIYer with patience can lift and relay a few loose blocks, scrape bitumen locally, and blend a refinishing pass in a small room. But complexity rises quickly where:
- large sections are drummy or debonded,
- you need to stitch patterns across rooms or thresholds,
- species matching and colour grading matter (front rooms, feature spaces),
- underfloor heating is present,
- or you’re dealing with water damage and cupping.
A specialist brings calibrated moisture testing, dust-managed machines, and the hard-won pattern sense that keeps lines true. For significant work, professional Parquet Floor Repairs usually cost less overall than a DIY redo plus replacement blocks.
Cost & Timeline: Realistic Expectations (UK-Centric)
Every home is different, but you can think in ballparks:
- Localised rebonding & spot refinishing: Typically a day on site for modest areas, plus cure time.
- Full-room stabilisation, sand & finish: Several days, depending on repairs, layout complexity and finish type (oils need additional cure).
- Material allowances: Adhesives, primers, fillers, and replacement blocks (reclaimed stock can command a premium for size/species accuracy).
What drives cost is less the square metre rate and more the “fiddle factor”—intricate borders, pattern realignment, threshold treatment and how much subfloor preparation is needed. A well-scoped survey prevents surprises.
Finish Choices: Getting the Look (Without Regrets)
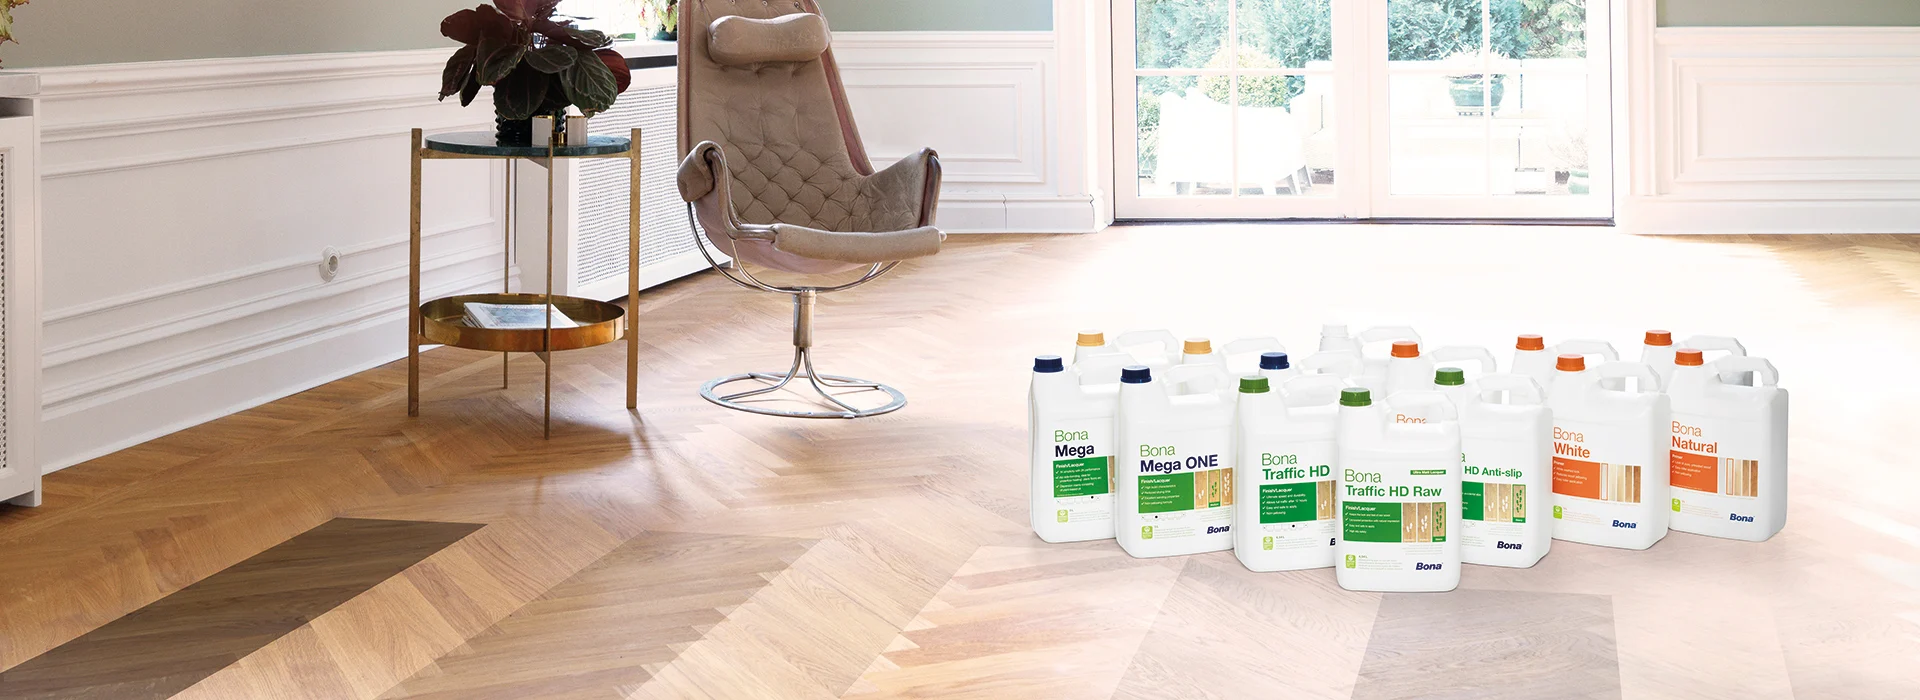
- True matt lacquer hides micro-scratches and suits contemporary interiors, reducing that “sports hall shine”.
- Subtle satin boosts grain in traditional homes with original joinery.
- Oils offer a tactile, natural feel and are easy to spot-repair after dings, but you’ll commit to gentle, regular care.
- Colour correction helps tame orange or yellow cast in aged oak; a waterborne stain or a light “invisible” lacquer can modernise without looking painted.
- Always trial on a board or an inconspicuous corner; daylight reveals undertones that artificial light misses.
Sustainability & Sourcing
Rescuing original parquet is sustainable by definition: you preserve embodied carbon and craftsmanship. When you need infill, reclaimed blocks from matching eras and mills keep the character consistent (kerf marks, bevel styles, species tones). Where reclaimed stock is scarce, precision-machined new blocks can work—provided thickness and shoulder geometry match so the sanded surface finishes co-planar with the originals.
A Quick Pre-Work Checklist
- Moisture levels verified and acceptable (or remediation planned).
- Substrate assessed; plan for priming, DPM or ply where needed.
- Adhesive system selected with matching primer and trowel notch.
- Datum lines snapped; layout confirmed, thresholds planned.
- Loose blocks mapped for lift, clean and re-lay.
- Sanding sequence set; machines and abrasives ready.
- Filler approach chosen (binder + dust) after stabilisation.
- Finish system tested for sheen and tone.
- Cure times and room access scheduled.
FAQs (Short, Honest Answers)
Do I have to remove every trace of old bitumen?
Not always. Many modern systems bond over well-prepared residues with specified primers. The key is following manufacturer data, not guesswork.
Can I mix wood species for replacements?
You can, but you’ll see it. Better to source reclaimed stock or finish-tone new blocks to blend. Randomise placements to avoid visible “islands”.
Why did my filler crack?
Movement. Stabilise loose blocks and control humidity; filler is not a substitute for sound bonding.
Is a matt finish less durable?
Durability depends on chemistry, not sheen. That said, matt hides micro-wear better, so it looks smarter for longer.
What about underfloor heating?
You’ll need elastic adhesives, careful expansion allowances and gentle commissioning. Keep indoor humidity in a sensible mid-range.
Bringing It All Together
Confusion around sanding, adhesives and pattern alignment comes from treating parquet like generic strip flooring. It isn’t. Respect the geometry, choose the right bonding system for your substrate and conditions, and commit to a controlled sanding sequence. If you’re weighing up a larger project or a complex pattern transition, professional Parquet Floor Repairs will save you time, stress and—very often—money.
Final Thought: From Drama to Done
A parquet restoration should end with crisp lines, a flat, touchable surface, and a finish that suits the way you live. If you want practical options, a clear survey and a tidy, dust-managed workflow, you’ll get them. Above all, remember that the “mystery” isn’t mystical at all—it’s method. With the right plan, Parquet Floor Repairs are simply the craft of putting beautiful geometry back where it belongs.